
Caulking & Sealing in Toronto & the GTA
Old, cracked or mouldy caulk lets water in and makes a whole room look tired. We cut it out and re-seal tubs, showers, sinks, backsplashes, countertops and windows with fresh, mould-resistant caulk and dead-straight lines.
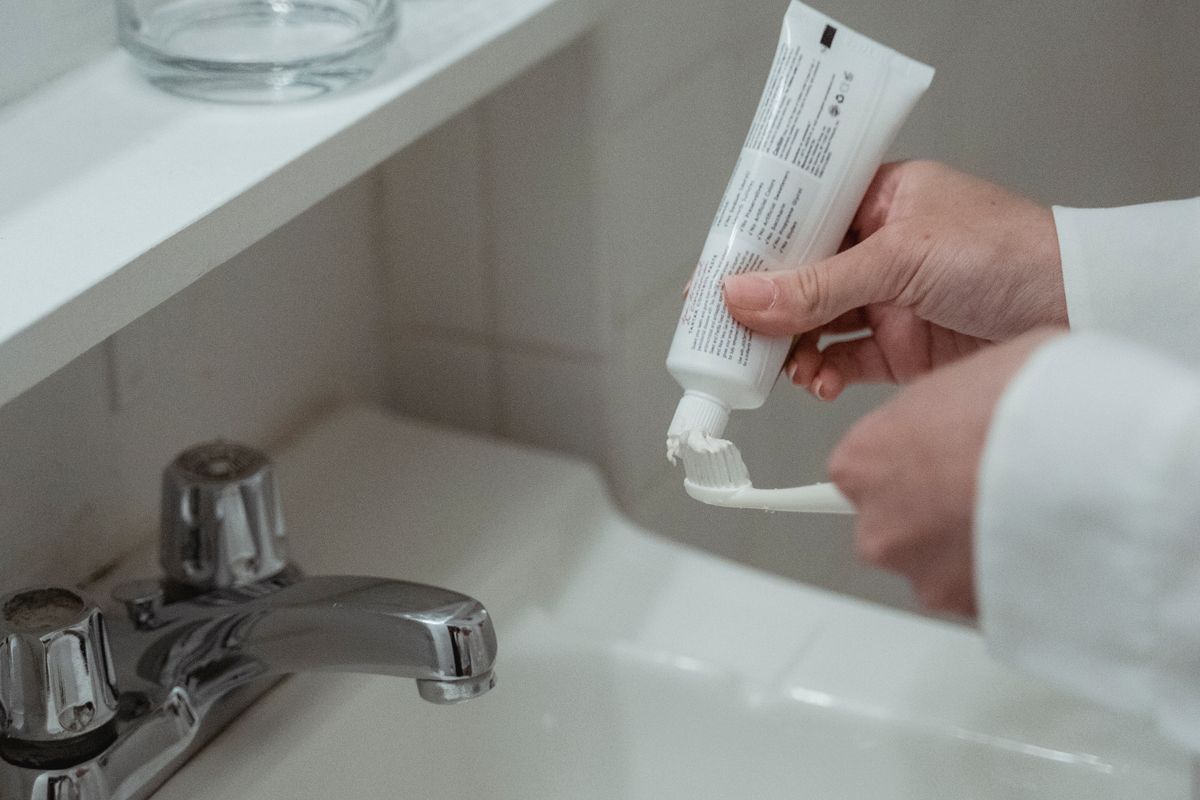
FixitPlus cuts out failed caulk and re-seals tubs, showers, sinks, backsplashes, countertops and windows across Toronto and the GTA using mould-resistant caulk. Old caulk is removed and the surface cleaned and dried first — new caulk is never applied over old.
Caulking is one of the smallest jobs in a home and one of the most telling. Fresh, crisp caulk lines around a tub, a backsplash or a window make a room look clean and cared for; cracked, discoloured or mouldy caulk makes even a spotless bathroom look neglected — and, worse, lets water get where it shouldn’t. FixitPlus removes old, failing caulk and re-seals with fresh, mould-resistant product and dead-straight lines, protecting your home from water damage and instantly sharpening the way it looks.
We re-caulk and seal all the places that need it: bathtubs and shower surrounds, sinks and vanities, kitchen backsplashes and countertops, around toilets, and along the interior and exterior of windows and doors. Each of these is a spot where water and air want to get in, and where a failed seal quietly causes problems — mould behind the tile, swelling under a counter, drafts and heat loss around a window. Renewing the seal is a fast, affordable way to prevent all of it.
A caulk line is only as good as the prep behind it, which is why our results last. We fully remove the old caulk rather than smearing new over top, clean and dry the joint, treat any surface mould, and use the correct sealant for the location — a flexible mould-resistant silicone in wet areas, the right exterior-grade product outdoors. Then we tool each bead to a clean, consistent line and finish the edges properly. The difference between that and a squeezed-on bead is the difference between a seal that lasts years and one that fails in months.
It’s a job that punches far above its cost. For a small investment, re-caulking refreshes the look of a kitchen or bathroom, stops water and drafts at their most common entry points, and heads off the far more expensive damage that a failed seal leads to — rotten subfloor, mould remediation, swollen cabinetry. We’re happy to do it as a standalone visit or fold it into a larger refresh, and we always leave the lines clean, dry and ready to use once cured.
What a caulking & sealing visit covers
Caulking and sealing we handle:
Choosing the sealant, getting the old one out, and knowing what caulk can’t fix
Caulking looks like the simplest item on any to-do list, and it is the one most often redone within a year. When a bathtub recaulking or window caulking job fails early, the cause is nearly always one of three things: the wrong sealant chemistry for the joint, residue left behind by the old bead, or a joint that was never really a caulking problem in the first place.
Silicone, siliconized acrylic, polyurethane or hybrid — four different jobs
Pure silicone stays flexible the longest and shrugs off constant water, so it belongs at the tub, the shower and the sink. It cannot be painted, and almost nothing bonds well to it once it has cured. Siliconized acrylic tools easily, cleans up with water and takes paint, which makes it right for trim, baseboard and interior window casings and wrong for a joint that is wet every day. Polyurethane grips masonry and concrete hard and suits exterior joints that move, but it is stiff to work and needs solvent to clean up. Hybrid sealants sit between them — paintable, UV-stable and flexible — which is why we reach for them on exterior window perimeters against brick and siding.
Getting the old bead out — and the film it leaves behind
Cutting the bead out is the easy half. Silicone leaves a thin film on tile, porcelain and acrylic that you cannot see and that new sealant will not grip, so a fresh bead laid over it lets go along one edge within months. After the knife, we scrape with plastic blades on acrylic and fibreglass tubs, because steel scratches them, then strip the residue with a solvent or a dedicated silicone remover until a clean cloth drags instead of gliding. Then the joint has to dry. If water was sitting behind the old bead, that can mean leaving it open with a fan running before anything goes back in.
Mould under the caulk: symptom first, cause second
Black spotting you can scrub off the surface is usually mildew feeding on soap film in a bathroom that stays damp. Black that sits inside or behind a clear or white bead is different: water has got behind the sealant, and the mould is growing on the back of it where no cleaner can reach. That bead has to come out. If the same staining returns quickly after a proper shower recaulking, we look past the caulk — at an edge that lost adhesion, grout wicking water into the joint, a wall that stays wet, or an exhaust fan that is not clearing the room.
Joints that move: backer rod and a loaded tub
Caulk fails when a joint moves further than the bead can stretch. A gap wider than about 6 mm — common where a tub has settled, along a backsplash over an uneven wall, or around an exterior frame — gets closed-cell backer rod first, pressed in slightly oversized. The rod sets the depth of the bead and stops it bonding to the back of the joint, so it flexes between two faces instead of tearing down the middle. For bathtub recaulking, we fill the tub and keep it full until the bead has skinned over. Acrylic and enamelled-steel tubs flex noticeably more than cast iron, and a bead that sets with the joint at its widest only ever compresses afterwards.
Exterior caulking: temperature, moisture and freeze-thaw
Outside, the label on the tube matters. Acrylic-based sealants generally want the air and the surface above about 5 °C; some silicones and hybrids are rated colder, but no sealant bonds to frost or a damp frame. Timing also changes the joint itself. A vinyl window frame shrinks in the cold and grows in summer heat, so a bead laid on a hot July afternoon gets stretched hard every January, while a mild spring or fall day puts the joint near the middle of its range. Over the winter, water that gets behind a failed bead freezes, expands and pries the joint a little wider each cycle.
What caulk can’t fix
Caulk seals the joints where two surfaces meet and move. It is not a repair for cracked or missing grout in the middle of a tile wall, for tile that sounds hollow or shifts under your hand, or for a shower valve or spout that leaks behind its trim plate. Silicone run over failed grout traps water behind it, sealing around loose tile hides a failing backer, and a dripping valve needs a cartridge or a plumber rather than a bead. If we cut out the old caulk and find soft drywall or a spongy tub wall, we stop and show you before going any further.
Signs it is time to call about caulking & sealing
Re-caulk when you see:
Cracked or peeling caulk
Once caulk splits or lifts, water gets behind it — re-sealing early prevents hidden damage.
Black or mouldy lines
Mouldy caulk can’t be cleaned back to new; removing and replacing it is the only real fix.
Drafts around windows
Failed exterior and interior window seals let in cold air and drive up heating bills all winter.
Gaps at counters or tubs
Any visible gap along a counter, tub or backsplash is an open door for water — quick to seal, costly to ignore.
What we find when we cut out a caulk line that failed early
- 1New silicone laid straight over the old bead or its residue. It looks fine for a few weeks, then lifts along one edge and lets water in behind both layers.
- 2Siliconized acrylic used around a tub or shower because it was easier to tool, then staining and splitting within a season of daily showers.
- 3The weep slots along the bottom of a vinyl window frame, or the weep gaps in a brick wall, sealed shut during window caulking — trapping the water they exist to let out.
- 4Caulk run along the inside of a glass shower-door frame, where many manufacturers’ instructions say to seal only the outside so water inside the frame can drain back into the shower.
- 5A wide gap filled with caulk alone and no backer rod, so the bead bonds on three sides and splits down the centre at the first cold snap.
- 6A thick bead smeared over cracked grout and loose tile to stop a leak, hiding the problem while water keeps reaching the wall behind it.
How we handle caulking & sealing
How we get a clean, lasting seal:
Remove the old caulk
We fully strip out the failed caulk rather than covering it — the only way to a lasting result.
Clean, treat and dry
We clean the joint, treat any surface mould, and make sure it’s completely dry before sealing.
Apply the right sealant
We use the correct mould-resistant or exterior-grade product for the location and lay a consistent bead.
Tool and finish
We tool each line to a clean, smooth finish and tidy the edges so it looks sharp and seals fully.
Caulking & Sealing in Toronto, York Region, Peel & Durham
The same caulk line behaves differently in different GTA homes. Toronto condos often still have the builder’s original bead in windowless bathrooms that depend entirely on the exhaust fan, so mould is the usual reason for the call; exterior window sealing in a condo is normally the corporation’s responsibility, so check your declaration before booking it. Older Toronto houses with plaster walls and original cast-iron tubs tend to have wide, uneven joints from decades of settling, plus wood windows where the glazing putty, not the caulk, needs attention. Newer subdivisions across York Region — Vaughan, Richmond Hill, Markham, Newmarket — bring large acrylic showers and brick-veneer walls where vinyl window perimeters bake on the south and west elevations. In Peel and Durham townhouse rows, exterior joints often run straight into a neighbour’s wall, so we confirm where your side ends before sealing.
Not listed? We cover the whole Greater Toronto Area.
Builder brains on every job
Full removal, not a cover-up
We strip the old caulk completely so the new seal actually bonds and lasts.
The right product
Mould-resistant silicone in wet areas, exterior-grade outdoors — matched to where it’s going.
Crisp, straight lines
Properly tooled beads that look clean up close, not a wavy squeezed-on line.
Damage prevented
A small job that heads off rot, mould and drafts before they become expensive.
Caulking & Sealing pricing — honest and flat-rate
Caulking is a flat rate by area. What affects it:
What affects the price
How handyman quoting works in general — hourly, flat rate and day blocks compared: How much does a handyman cost in Toronto?
Bathroom Recaulking in Toronto: Making It Last Through GTA Winters and Humid Summers
Caulk rarely fails because of the product. It fails because the joint moves, stays damp, or was sealed at the wrong time of year. GTA homes are hard on sealant: dry, heated air all winter, sticky humid summers, and exterior joints that open and close with every freeze-thaw cycle. Here is what we do on a bathroom recaulking or shower caulking job to give the seal a long life — and what helps once we have gone.
A quick look along the tub, the shower corners and the windows each fall, when you run through the rest of your home maintenance, catches a lifting edge before the water does.
We fill the tub before sealing
A tub settles slightly when it is full of water and a person. We fill it before caulking so the bead cures with the joint at its widest; when the tub empties, the caulk compresses rather than stretching. A joint caulked empty tears the first time someone runs a deep bath.
Caulk at the corners, grout in the field
The inside corners of a shower and the line where tile meets the tub are change-of-plane joints, and they move. Grout there cracks again and again; flexible silicone does not. If your shower corners are grouted, we rake them out and caulk them.
Ventilation does half the work
Mould will find even fresh caulk in a bathroom that stays damp. Run the exhaust fan through the shower and for a while afterwards, and squeegee the corners. Many older Toronto bathrooms have a weak fan or none at all — if yours barely moves air we will tell you, and adding one where none exists is a job for a licensed electrician.
Exterior sealing has a season
Exterior sealants need a dry surface and temperatures above the manufacturer’s minimum, so window and door sealing is best done between spring and mid-fall. Wider gaps get a foam backer rod first, which lets the bead stretch with the seasons instead of tearing.
Planning your caulking & sealing job
Written by Alan from work we do every week in GTA homes and condos:
How to Recaulk a Bathtub or Shower: Removing Old Caulk, Choosing the Right Sealant and Getting a Clean Line10 min read · Read the guide → The GTA winter home checklist every owner should run4 min read · Read the guide →
 What Can a Handyman Do? 25 Jobs Handled in One Visit (GTA)8 min read · Read the guide →
Caulking & Sealing — common questions
It’s tempting, but new caulk won’t bond well over old, and any mould underneath keeps growing. Full removal and a clean joint are what make a re-seal last — and it’s what we do.
We treat the surface mould and use mould-resistant sealant, which greatly reduces regrowth. In a well-ventilated bathroom a proper re-caulk lasts for years; persistent mould can point to a moisture or ventilation issue we’re happy to flag.
Most sealants need about 24 hours to fully cure before they get wet. We’ll tell you the exact window for the product we use so the seal sets properly.
Yes. Exterior window and door sealing keeps out water and drafts and helps with heating costs — we use the correct exterior-grade product for the job.
Usually every few years, but the condition of the bead matters more than the calendar. A properly applied silicone line in a well-ventilated bathroom can last several years; one in a damp, windowless bathroom often needs renewing sooner. Recaulk as soon as you see an edge lifting, a split at a corner, or black staining inside the bead that will not scrub off. At that stage it is a short visit — once water has reached the wall behind it, it is a much bigger one.
Yes. Kitchen backsplash caulking at the countertop is a moving joint between two materials, so it gets a flexible silicone in a colour matched to the counter or grout, never grout or a rigid filler. On natural stone such as marble, we use a neutral-cure sealant made for stone, because some general-purpose silicones can etch or stain porous surfaces. The line along the sink and the edges around the cooktop can be resealed in the same visit.
Only if the water is getting through the caulk joint itself. A lifted bead at the tub edge or a split in a corner is a caulking fix. Water coming through cracked grout, behind loose tile, from a dripping valve or spout, or from the drain connection is not, and sealing over those hides the leak while the damage carries on. If you have a stain on the ceiling below a bathroom, mention it when you book so we look for the source before sealing anything.
Some can and some cannot. Siliconized acrylic and most hybrid sealants take paint well, which is why they are used along trim, baseboards, crown moulding and interior window casings. Pure silicone does not — paint beads up on it and peels — so it stays on tubs, showers, sinks and counters where it is not meant to be painted. If silicone has been used on painted trim, it has to be cut out and the residue cleaned off before the joint can be recaulked and painted.

Alan
Project Manager, FixitPlus Inc.
Scope and technical detail on this page is set by Alan, FixitPlus project manager, drawing on 20+ years of custom-home building in the GTA. Where a job legally requires a licensed trade or a permit, we say so on the page rather than in the small print.
- 20+ years of custom-home building across the GTA
- Project manager on new builds, additions and whole-home renovations
- Single point of contact on every FixitPlus job
Last reviewed
Related handyman services
All servicesReady to cross it off the list?
Send us a few details for a free, no-obligation quote — or call and we’ll talk it through. One trusted crew for repairs and renovations across the GTA.